Installing Anaconda for Windows
The steps below describe the steps for installing a new version of Python 3.6. If you have an existing version already installed, you can either uninstall the older version or follow the instructions for managing multiple Python installs here.
1. From https://www.anaconda.com/download/ download the Anaconda3-5.2.0 for Windows Installer for Python 3.x. Select the 32-bit or 64-bit installer (depending on your Windows machine architecture).
2. From this download location on your machine you should see a file like: Anaconda3-5.2.0-Windows-x86-64.exe (assuming your Windows machine is 64-bit) for launching the Windows installer.
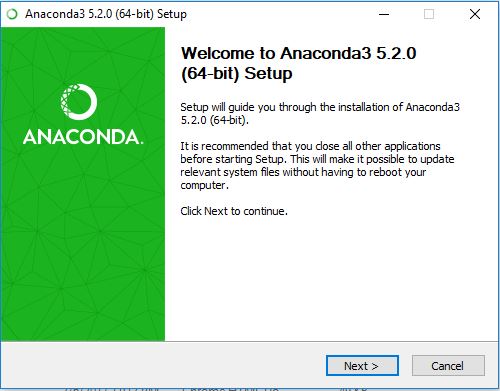
3. Launch the Windows Installer.
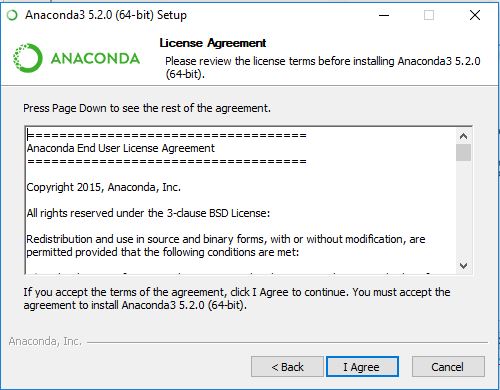
4. Click Next to review the license agreement and click the ‘I Agree’ button.
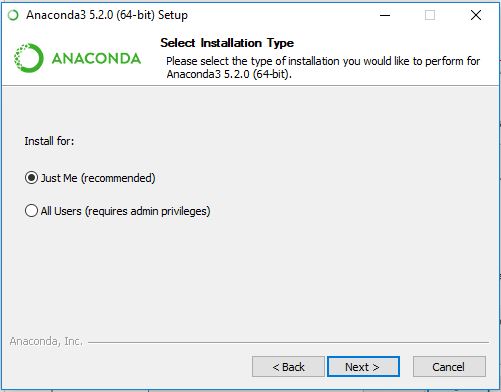
5. Select the installation type, stand-alone or multi-user.
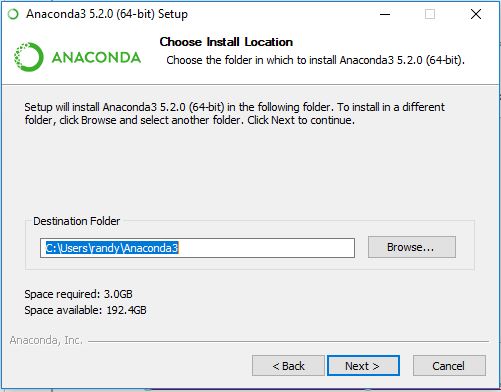
6. Select the installation path.
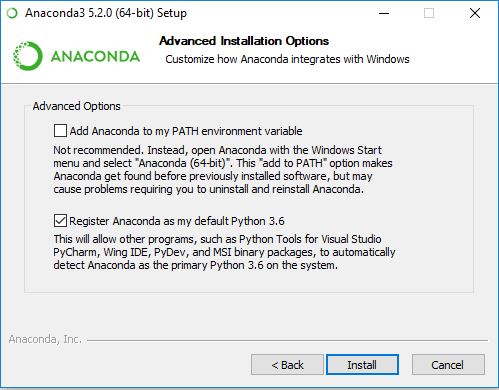
7. Register Anaconda as the default Python 3.x installation by ensuring the ‘Register Anaconda as my default Python 3.x’ box is checked and press the ‘Install’ button.
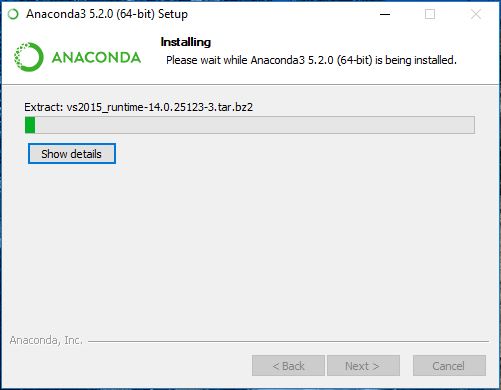
8. Start the installation process. You may be asked if you would like to install Microsoft’s Visual Studio. Visual Studio provides a visual interface for constructing and debugging Python scripts. It is an optional component and is not used in this book.
9. Validate the install by opening a Windows Command Prompt window and enter (after the $ symbol prompt):
$ python
Assuming the installation worked correctly, the output should look similar to:
C:\Users\randy> python
Python 3.6.x |Anaconda, Inc.| (default, Mar 29 2018, 13:32:41) [MSC v.1900 64 bit (AMD64)] on win32
Type "help", "copyright", "credits" or "license" for more information.
>>>
Troubleshooting Python Installation for Windows
If you receive the error message, ‘python’ is not recognized . . . then ensure the Windows PATH environment variable has been updated to include the location for the Python installation directory.
1. On Windows 10, open File Explorer and select 'Properties' for 'This PC'
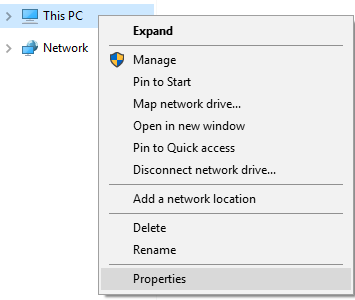
2. Right-click the ‘Properties’ dialog to open the Control Panel for the System.
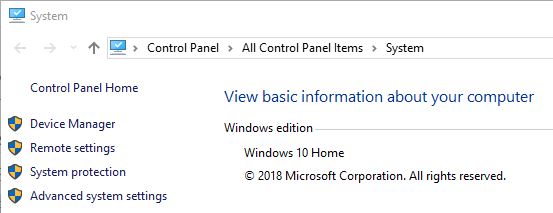
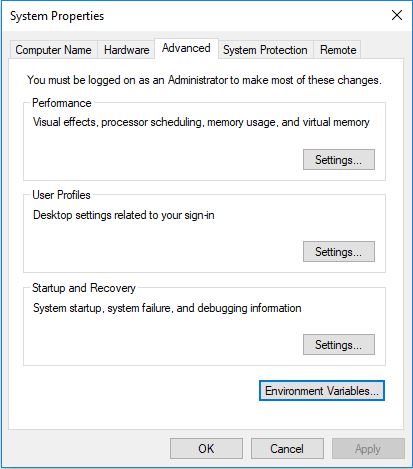
3. Select ‘Advanced’ tab for System Properties and press the 'Environment Variables . . . ' button.
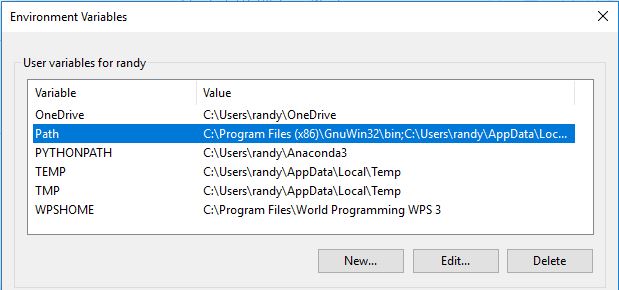
4. Highlight the ‘Path’ Environment Variables . . .
5. . . . and edit the Path environment Variable by clicking the ‘New’ button
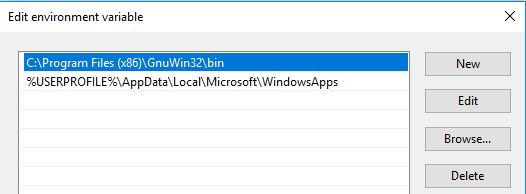
6. Add the Anaconda Python installation path specified in step 6 from the Anaconda3 Install Process for Windows you performed earlier.

7. Ensure the path you entered is correct and click ‘OK’.
8. To validate, start a new Windows Command Prompt and enter the command ‘python’. The output should look similar to . . .
C:\Users\randy> python
Python 3.6.x |Anaconda, Inc.| (default, Mar 29 2018, 13:32:41) [MSC v.1900 64 bit (AMD64)] on win32
Type "help", "copyright", "credits" or "license" for more information.
>>>